Generate a PDF using PowerAutomate Method – 2
In previous blog, we discussed about Generating the PDF from Microsoft Flow with 2 approaches. The First one with HTML Template can be accessed from here Generate a PDF using PowerAutomate Method – 1
Lets start with the Second approach,
Part-2
Generate a PDF of SharePoint List Data with Word Template from Microsoft Flow
This is the second approach for generating the PDF from SharePoint List data that is using the predefined format as Template in SharePoint Document Library, then updated the file properties and created a template in OneDrive then converting that template to PDF and saving in SharePoint Document Library.
The approach goes like,
Step-1
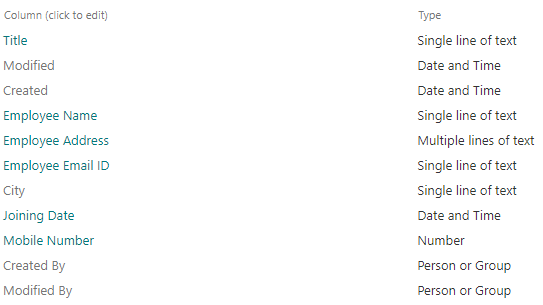
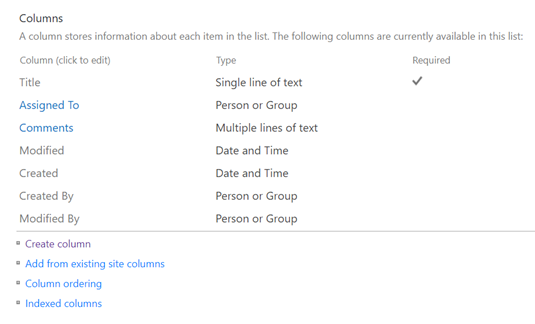
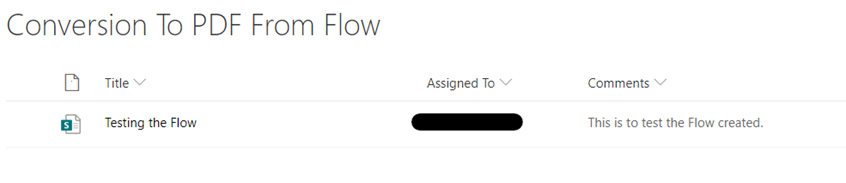
Create a SharePoint Custom List named Conversion-to-PDF-from-Flow with necessary fields to enter the data, required to move to predefined PDF Format. Here I have taken following fields.
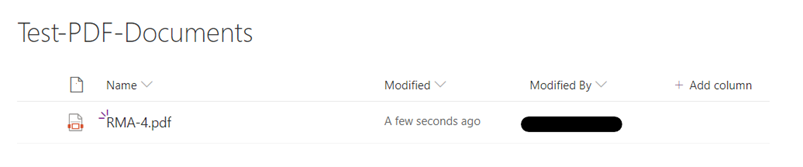
Create another SharePoint Document Library with name Test-PDF-Documents to store the generated PDF’s.
Please note, while creating multi-line columns, make sure the plain text is selected.
Step-2
The Word Template
Create a SharePoint Document Library named Test-PDF-Doc-Template. Create the same data fields created in the SharePoint List – Conversion-to-PDF-from-Flow.
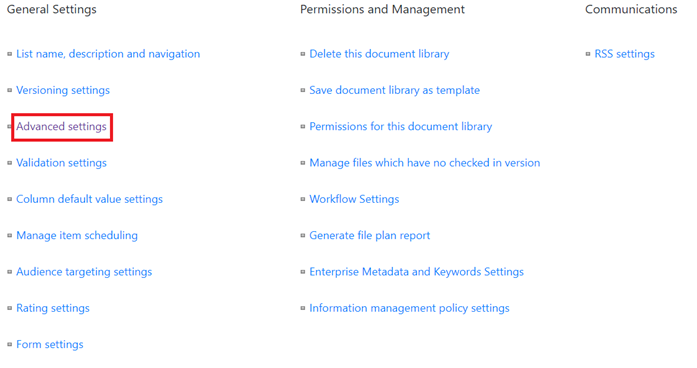
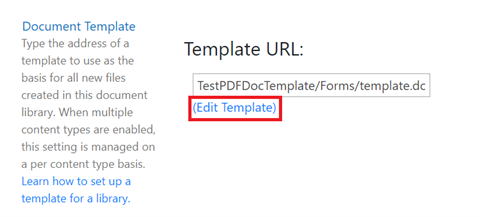
We would create document template in the Library. We would create the same data fields in the library as we had created in the List named Conversion-to-PDF-from-Flow. Once we have created the same data fields, we would go to Library Settings > go to Advanced Setting > Edit Template.
In previous approach, we used tokens. In this approach we would be using the quick parts from Insert tab. We can access or add them like Insert > Quick Parts > Document Property > Use the data column which would be used to replace the data inserted in it.
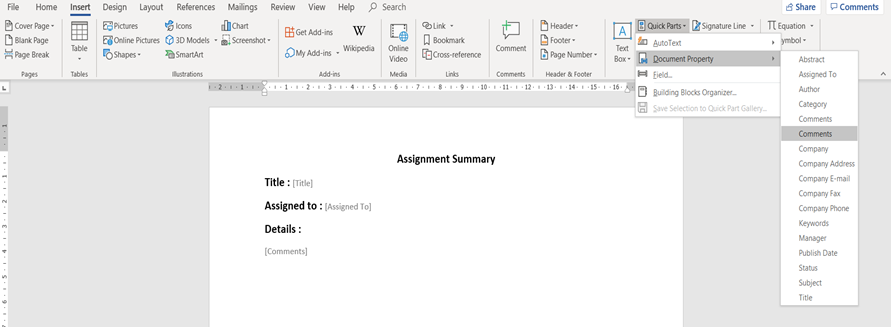
One created the template would look like this,
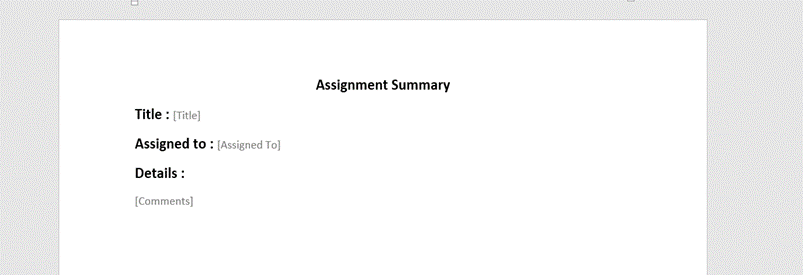
Once created, save it in .docx format.
So next time when you would try to edit the template it would have to be saved in .docx format.
Step-3
Creating the flow
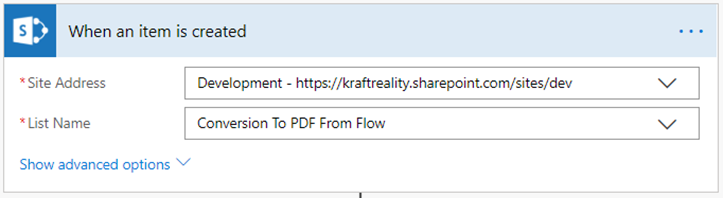
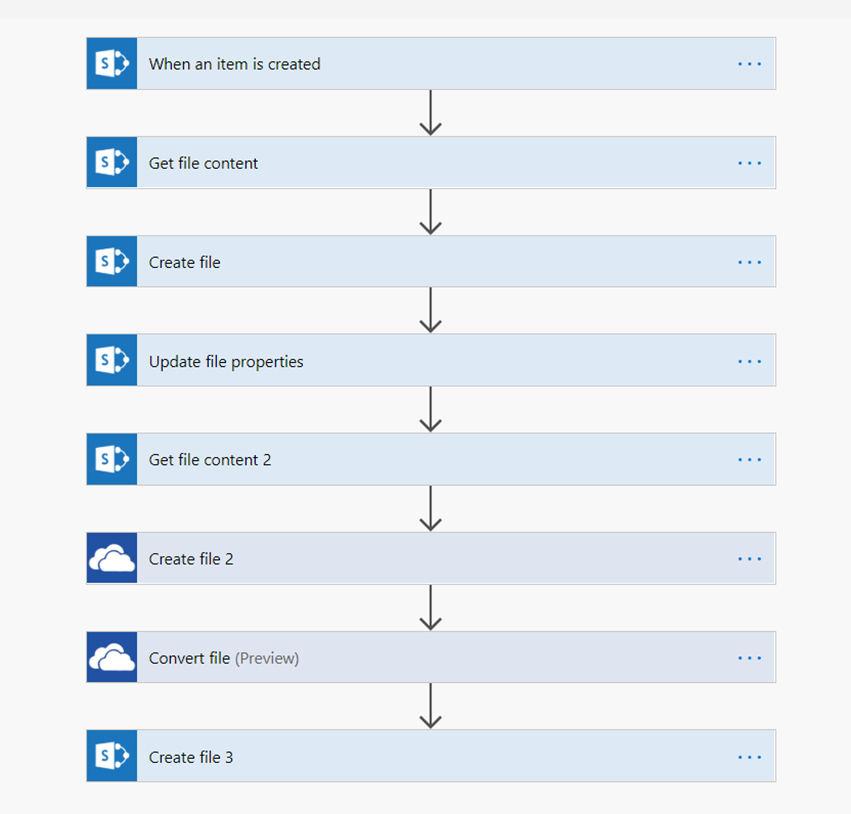
- Create the Flow with the trigger – When an item is created of SharePoint connector. Select the Site collection address and List’s name.
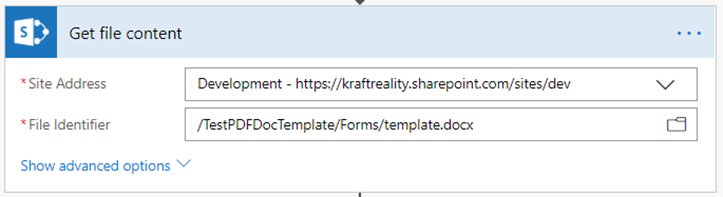
Add an action – Get File Content of SharePoint connector. Select the Site collection address and the File from which the template would be taken and used to create the file.
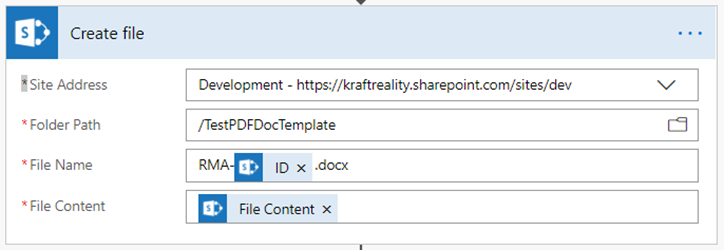
- Add an action – Create File of SharePoint connector. Select the Site collection address, folder path to the template saved, Create a File name as required and select the file content from dynamic content window from the previous action.
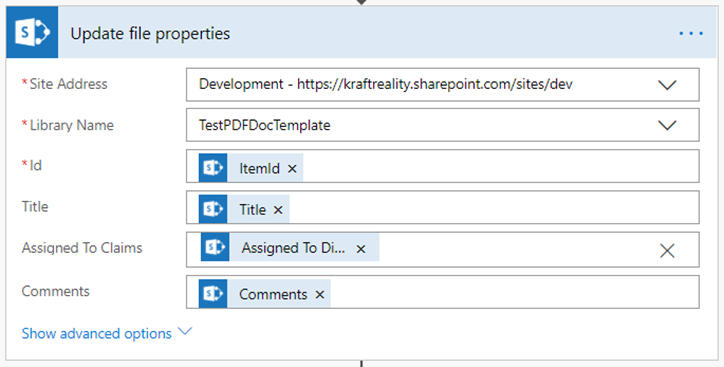
- Add an action – Update File Properties, select the Site collection address, Library name, Select the ID as ItemID from previous action Create File action and select the data fields linked to each other.
- Add an action – Get File Content of SharePoint connector. Select the Site Collection address, and the file identifier, set the file identifier as file identifier from the previous action.

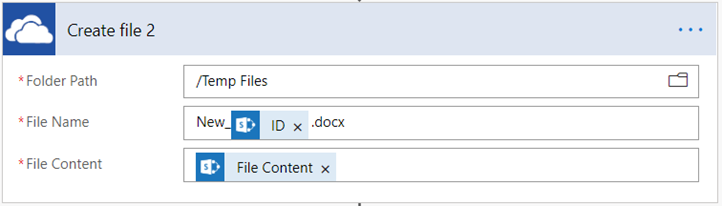
- Add an action – Create File of OneDrive connector. Select the Folder path to save the file, name of the file and the file content as file content from previous action from dynamic content.
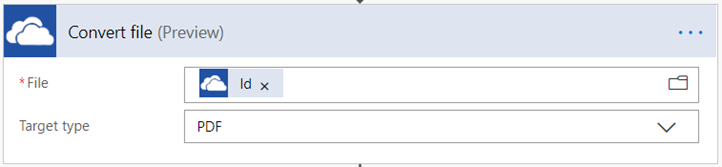
- Add an action – Convert File of SharePoint connector. Select the File as ID from the precious action.
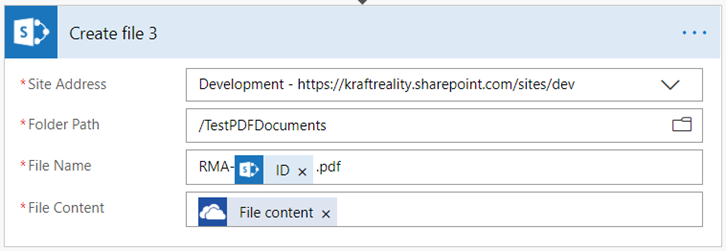
- Add an action – Create File of SharePoint connector. Select the Site collection address, folder path to save the file, name of the file with an extension .pdf and file content as File Content from previous action of Convert File.
Once the Flow is created, it would look like this,
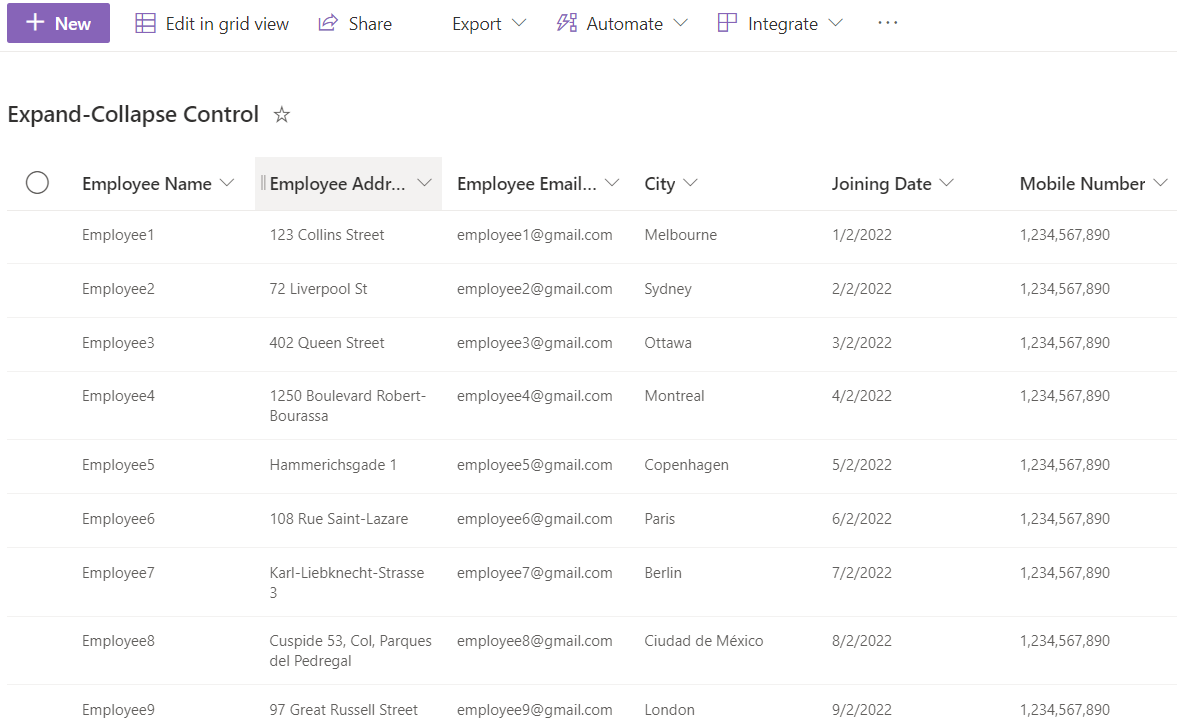
Let’s enter data in our SharePoint Custom List Conversion to PDF from Flow,
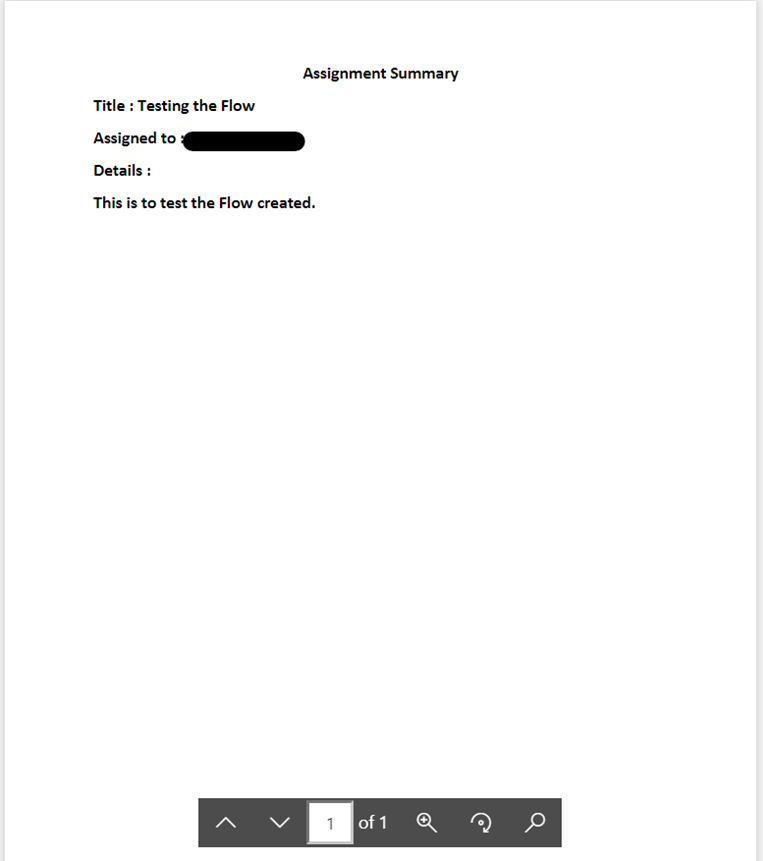
The document that gets created in Library named Test-PDF-Doc-Template while the Flow runs would come up as,

The document that would be created inside the Library Test-PDF-Documents after the Flow runs would come up as,
The file content would come up like this,