Repeating controls functionality in PowerApps can be achieved using Gallery Control of PowerApps.
Repeating control functionality can be useful in many scenarios. For Instance, you can add multiple products in data source, you can add multiple clients’ details in Data Source.
In this article using repeating control feature we will save data of multiple employees in SharePoint List. In this example we will only use text input control. But we can use any control inside gallery for repeating control functionality.
Now let’s start building the solution for Repeating Control in PowerApps.
Create SharePoint List
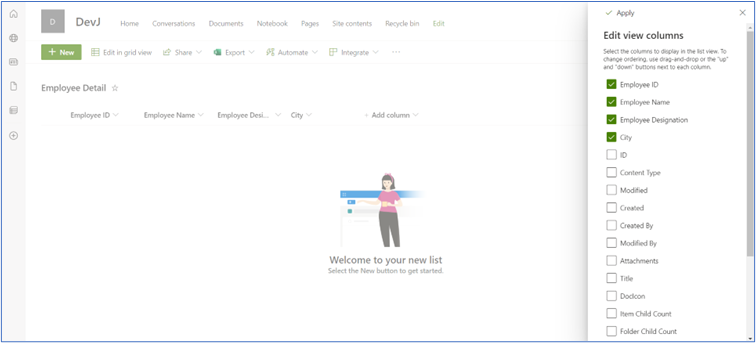
Create “Employee Detail” list and create following columns:
| Column Name | Column Field |
| Employee ID | Number |
| Employee Name | Single line of text |
| Employee Designation | Single line of text |
| City | Single line of text |

Create PowerApps
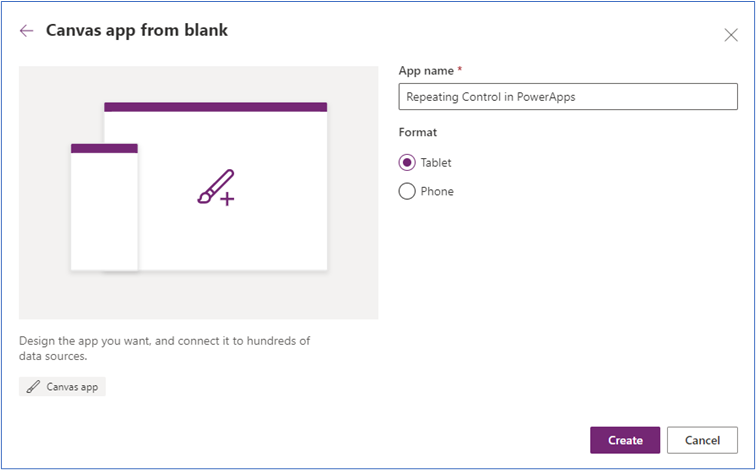
Step 1: Create new canvas app.

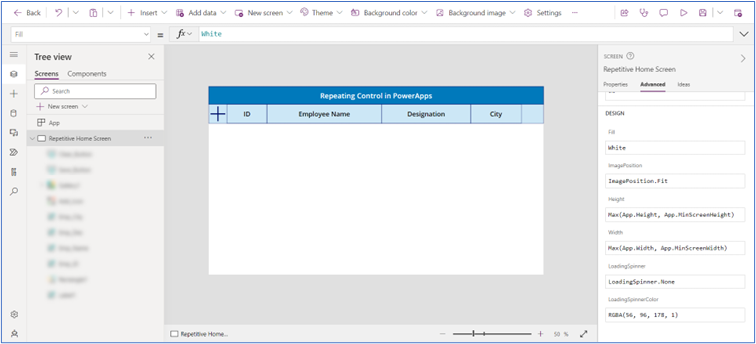
Step 2: Add Label controls for the heading purposes in the screen that looks like as below and add “+” icon in the first column.

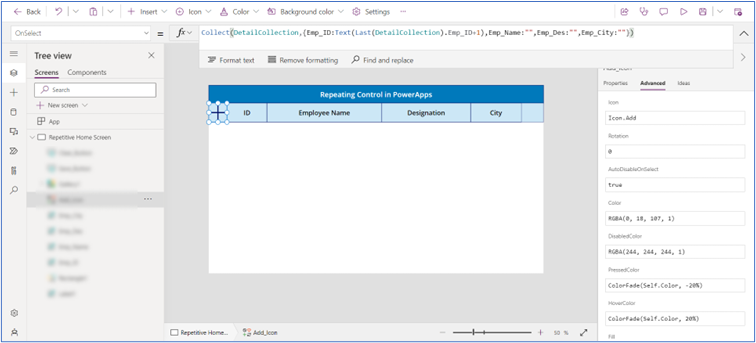
Step 3: After adding “+” icon set its “OnSelect” property as below:
Collect(
    DetailCollection,
    {
        Emp_ID: Text(Last(DetailCollection).Emp_ID + 1),
        Emp_Name: "",
        Emp_Des: "",
        Emp_City: ""
    }
)

Step 4: Now add Blank Vertical gallery control and add text input controls for each field (which are created in “Employee Detail” SharePoint list).
Select gallery control and set its “Items” property to the collection name:
DetailCollection
Step 5: Add Cancel icon in gallery to remove each row from gallery control. For that, set property on “OnSelect” property to:
RemoveIf(
    DetailCollection,
    Emp_ID = ThisItem.Emp_ID
)

Step 6: Now we will save the rows in the SharePoint list.
Insert button and set formula on “OnSelect” property.
ForAll(Gallery1.AllItems,Patch(
    'Employee Detail',
    Defaults('Employee Detail'),
    {
        'Employee ID': TextInput_ID.Text,
        'Employee Name': TextInput_Name.Text,
        'Employee Designation': TextInput_Des.Text,
         City: TextInput_City.Text
    }
));
Here we will patch all rows into SharePoint list.

Step 6: Now test the solution for new entries.

After click on “Save” button then go to the SharePoint list. You can see the new items have been created in list.


